Writing Speech or Thought Bubbles
To introduce this activity, read the book aloud and allow students time to see each illustration. (Projecting the book with a doc cam works well for this.) Then, flip back to the first illustration and ask students to share what they notice about the picture.
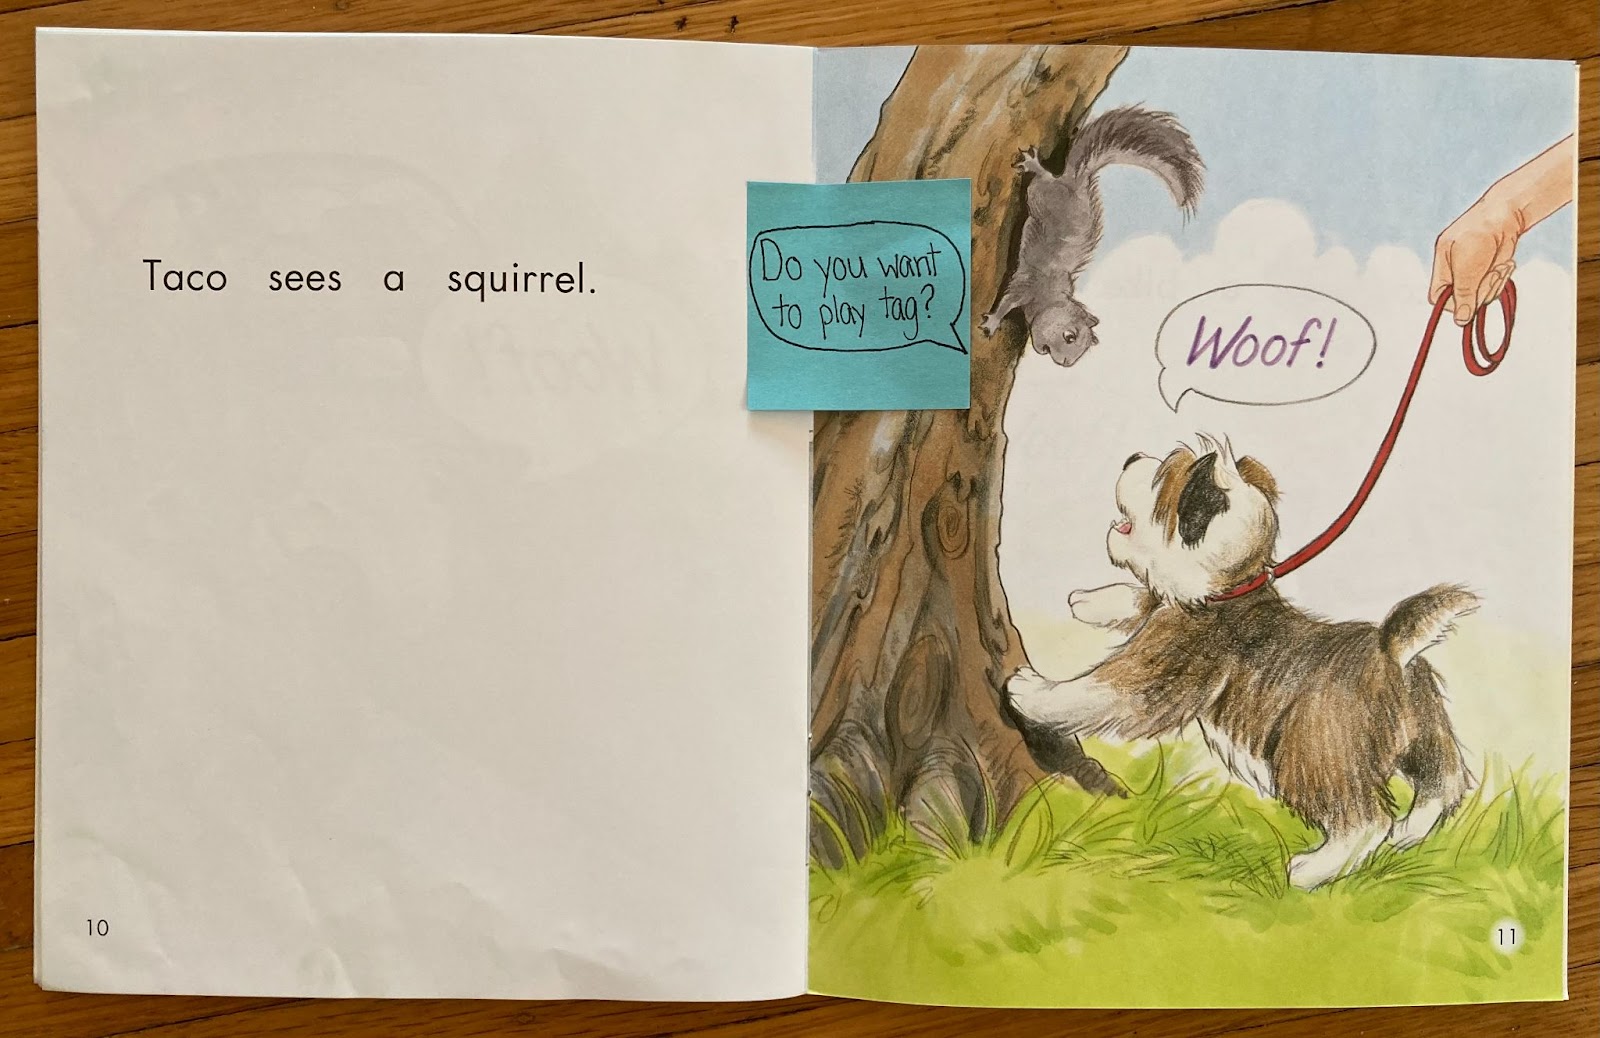
Once a few volunteers have had time to share their observations, prompt students to think about what the characters might be saying or thinking. For example, you might say “Taco is saying ‘ Woof!,’ but I wonder what the squirrel is saying.”
As a volunteer shares an idea, record the thought inside a speech bubble drawn on a Post-it note. Explain the function of a speech bubble– it lets the reader see the exact words a character is saying so they can imagine the conversation. Position the speech bubble on the picture and then reread the page.
For subsequent pages, invite students to share what they believe a character might be saying. You can have them dictate to you or they can make their own speech bubbles on Post-it notes. You might even consider having them write directly in photocopies of books.
Depending on students’ level of language development and experience with comic-style texts, you might use the opportunity to teach the difference between speech and thought bubbles and then incorporate thought bubbles into the activity.